Teams
Teams allows you to share your existing projects with other users. Allowing your teammates to view or edit your project information depending on their given access.
From this dashboard you can invite, remove, and update roles of your users on a project.

UI Sections
Your Teams
This parent section is a list of your current projects, that you an share with users.
If you don't have any projects, just create a project and it will show up.
Add User Button
- Add User button on the top right side of a project.
- This button opens a dialog to send invite to user
User Actions Button
- Three dot menu button on every team members row.
- This allows you to change roles of a team member, or remove them from the team.
Teams Actions

Invite Users
To invite users you must click the Add User button on the right hand side of your project.
A dialog will pop up asking you to enter an email of the user, and assigning them a role.
- Admins: can read and update your project
- Members: can only read the contents of your project
Once you have successfully sent an invite to the user they will be able to accept it either via email or through the dashboard.
After user accepts the shared project they will be able to read the contents of that shared project.
Remove Users
- To remove a user you need to click on the three dot menu button on the team members row.
- From here you can remove a user from the team.
Update Roles
- To update a user you need to click on the three dot menu button on the team members row.
- From here you can upgrade or downgrade a user.
- Downgrading a user to a Member, allows the user to only read the content of your project
- Upgrading a user to a Admin, allows the user to read and modify the contents of your project.
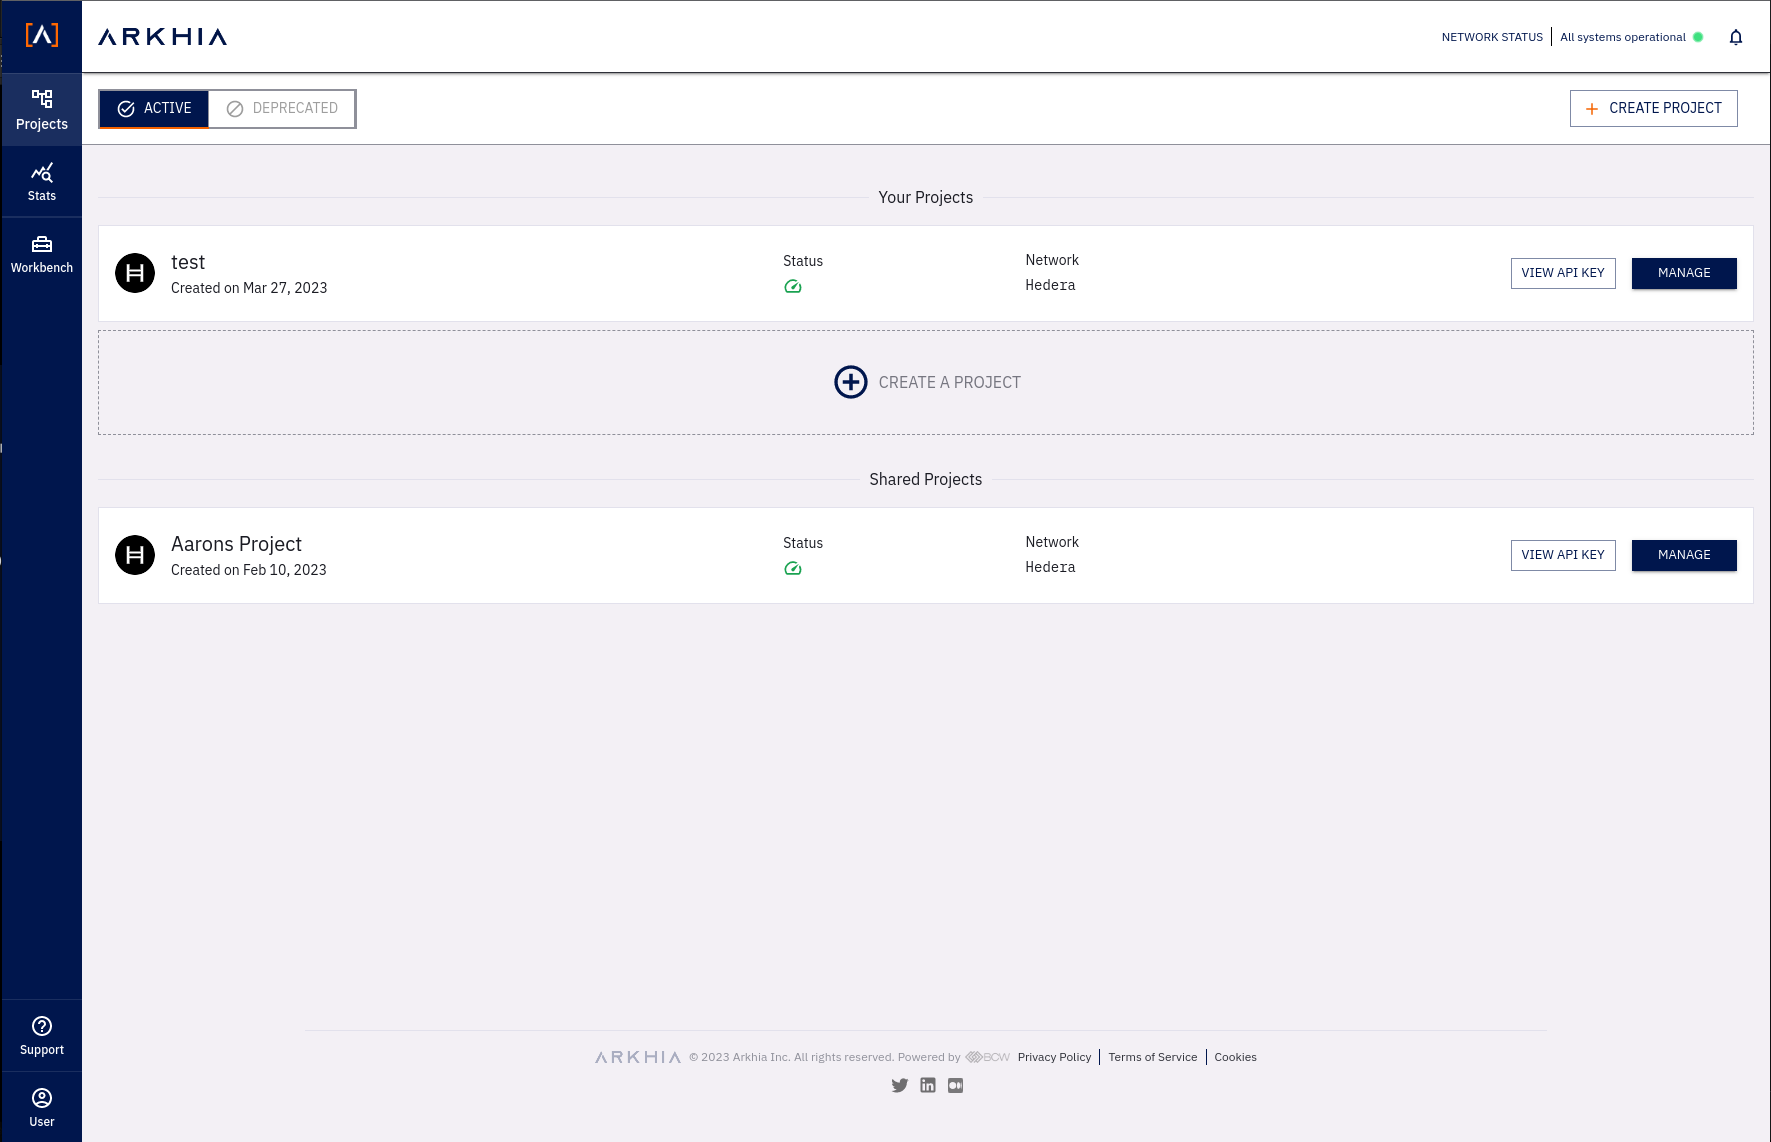
Here is a screenshot of the shared project from the users end after they accepted the team